Impulse buys aren’t really my thing, although I know a guy who had it bad. But, when it came to buying a rear hatch ladder for the 4Runner… it was probably a 60% utility buy and a 40% impulse buy. The 60% was… I did want an easy way to climb up to the roof rack (other than stepping on rear tires and hoisting my heavy frame up), and a ladder can also be useful for mounting “stuff” like a Trasheroo, water or gas cans (i.e RotoPax), or other gear assuming you have the proper mounting hardware. Personally, I’m hoping to use it to get on the roof of the vehicle to get above brush and take scenic landscape photos. The other 40% was… because it looked cool. Haha. Lets be real here.
Fast forward to December (a few months after ordering the SSO Full-Length Roof Rack but a month before receiving it), I found myself sorting through a few ladders available on the market. Prominent manufacturers included BajaRack, Gobi, C4 Fabrication, and one or two lesser known brands. Off the bat, I did not like BajaRack or Gobi’s rear hatch ladders - both use tubular steel which I thought did not go well with the sharp, angled look of the SSO roof rack. Furthermore, since their steps are just powdercoated tubular steel, I feared scratching them up over time and facing rust in the long run. Additionally, Gobi has notoriously long lead times that I did not want to deal with.
The C4 Fabrication Summit Hatch Ladder is unique, however, in that the main structure and ladder steps are made of aluminum (top and bottom mounting brackets are still steel), and the ladder steps are extruded aluminum T-slot bars, which allow a textured rubber step insert to be added for grip. Furthermore, the top mounting plate of the ladder also functions as a step (of sorts) - one step above other ladders on the market, ha! C4 Fabrication also sells bolt-on accessories for their Summit Hatch Ladder, which includes side steps and a RotoPax mount (neither of which I added on to this order as I have no need for them, yet). This is not to say that such accessories are not available for either BajaRack or Gobi ladders. Additionally, the C4 Fabrication ladder had a projected lead time of 6-8 weeks, which wasn’t bad (though this seems standard in the industry)… but I had heard good things of C4 Fabrication being on time. With all these considerations in mind, I decided on ordering the ladder from C4 Fabrication.
The order went in on order December 19, 2018. About a day after I ordered the ladder, a representative from C4 Fabrication sent an email with an expected completion date of January 30, 2019 (~6 week lead time). The representative also assisted with figuring out that the ladder would be compatible with the SSO roof rack (again, before I had it installed), and promptly responded when I followed up with a status inquiry near the expected completion date. I received the ladder a few weeks after the expected completion date on February 13, 2019 - not bad.
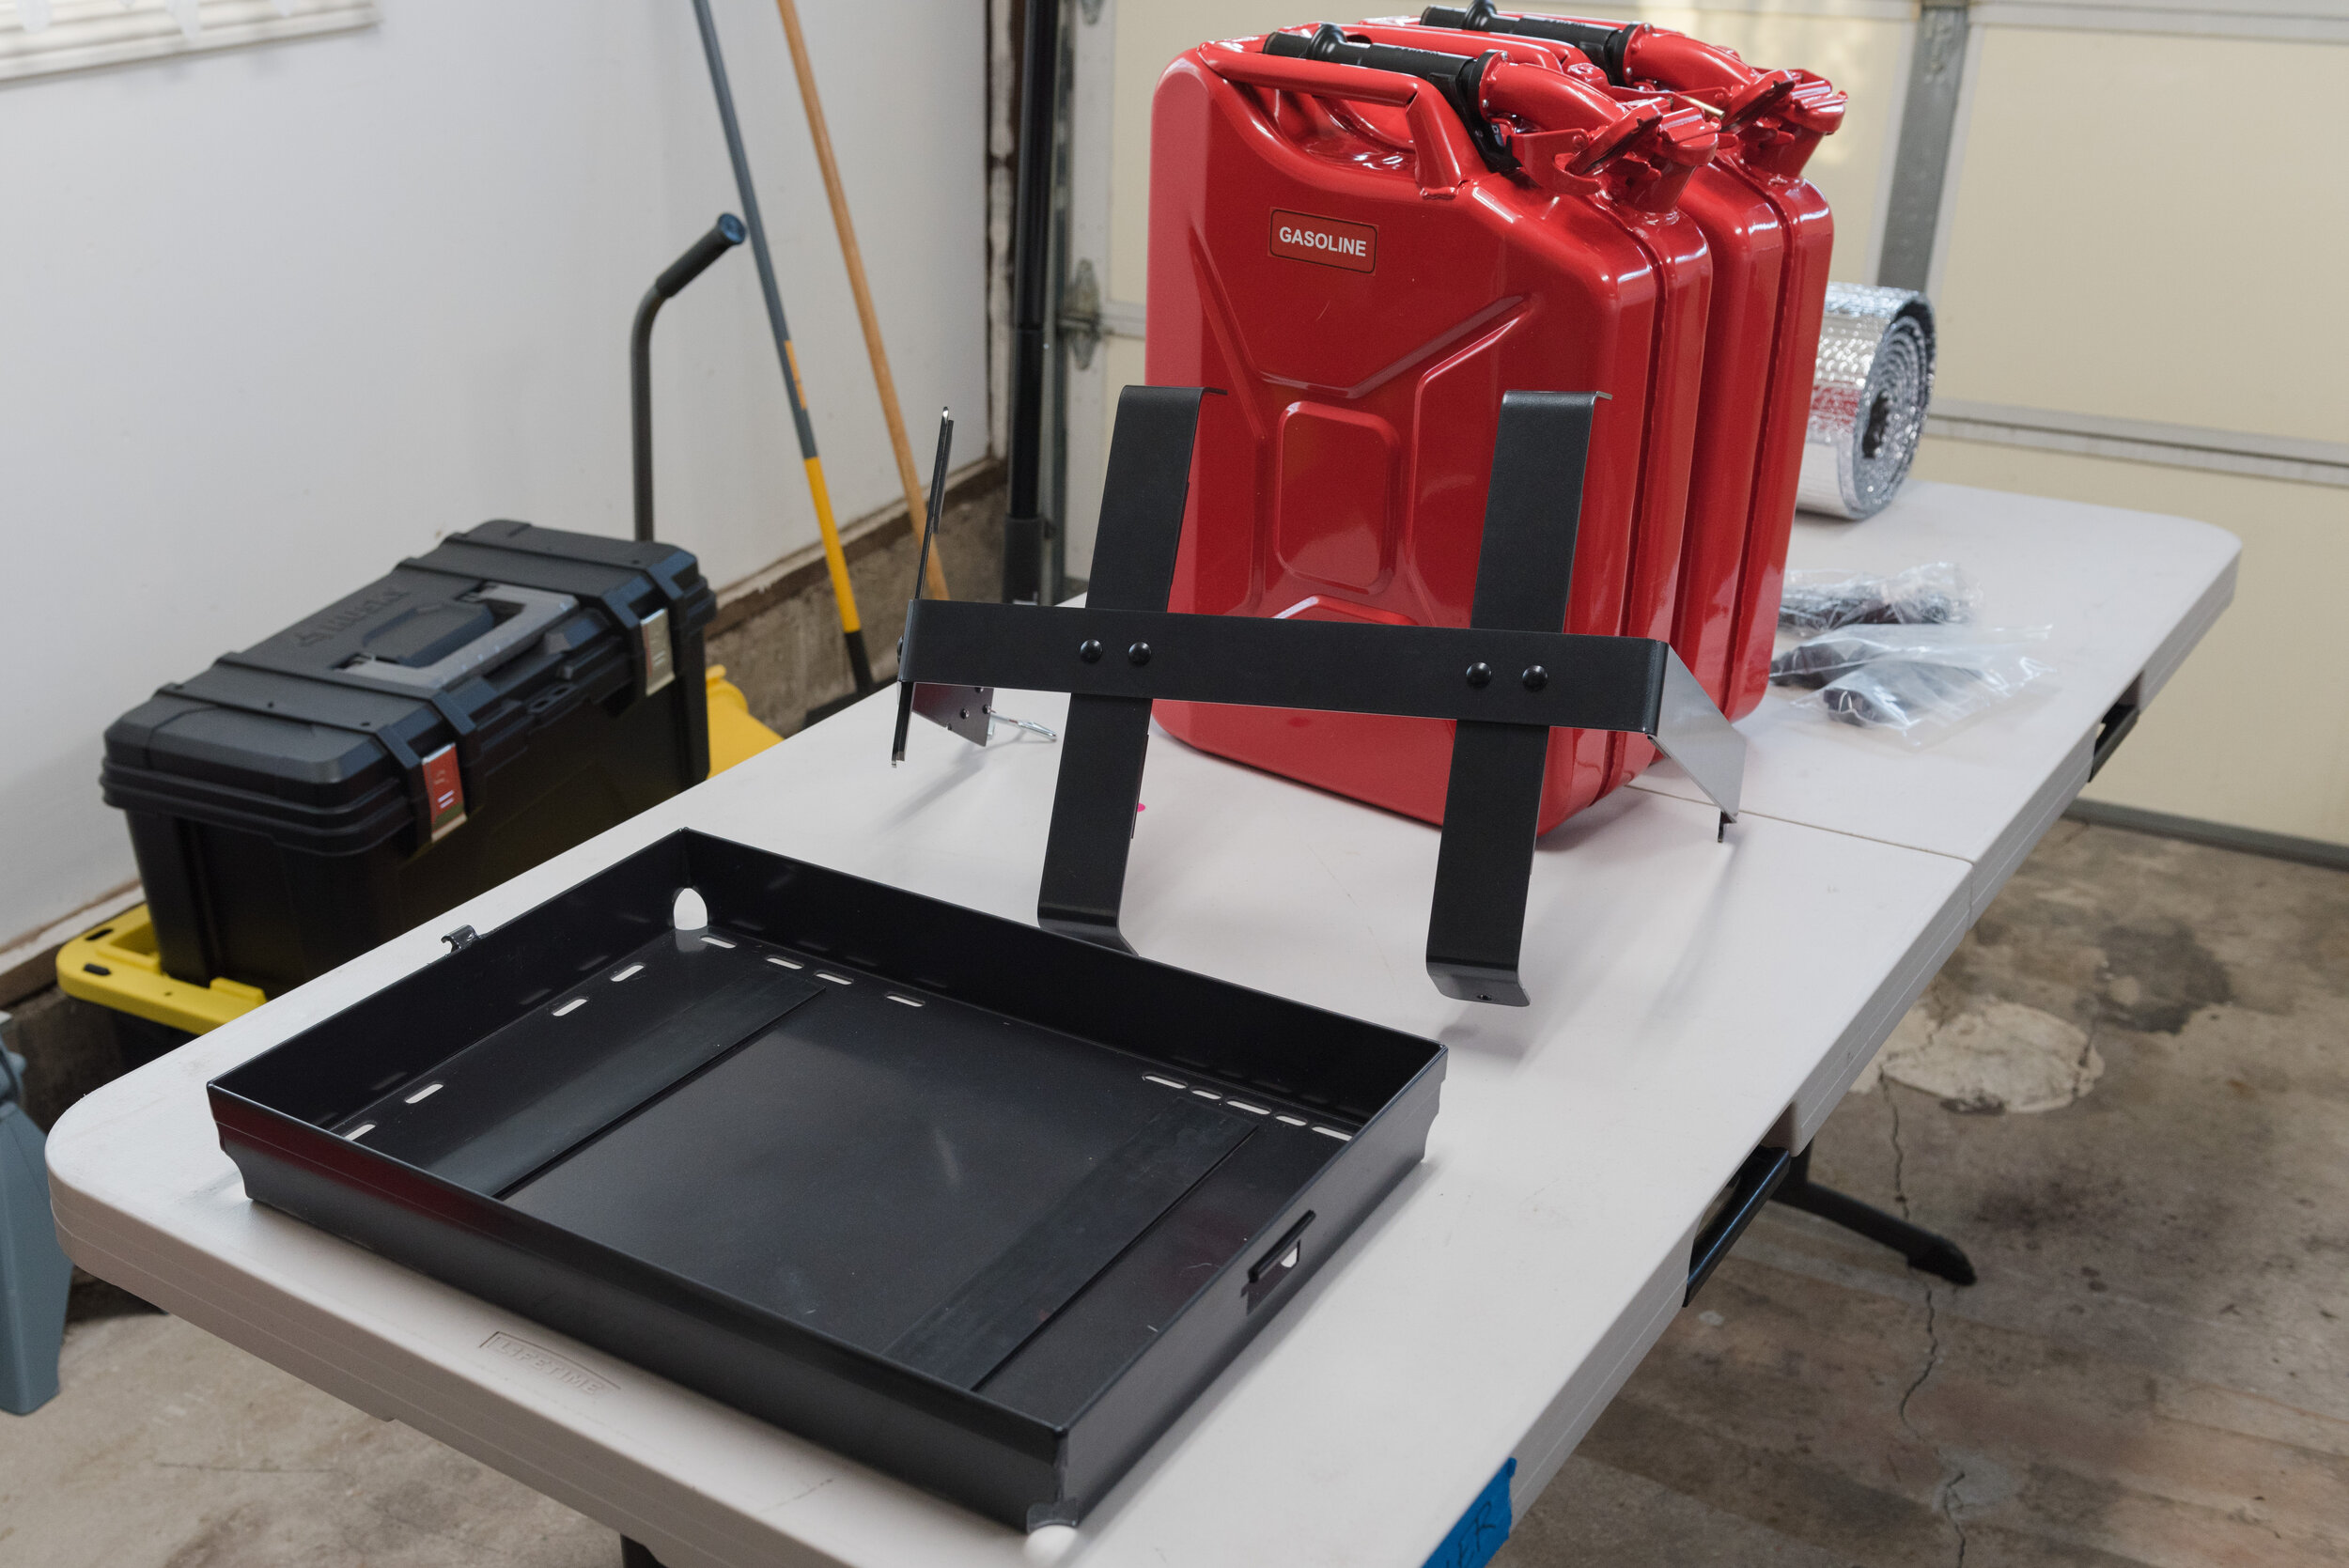
The parts came neatly packaged in one rectangular box. Its contents are shown in the photo below (no apologies for the amazing rug). The kit included:
Stainless steel mounting hardware.
1” and 3/4” foam strips.
Top and bottom ladder mounts (the top mount actually consists of two pieces).
Four extruded aluminum T-slot steps and rubber inserts.
Two main rails that form the body of the ladder.
Two support rails that add structural rigidity to the body of the ladder.
No paper instructions were provided - the instructions were available online at C4 Fabrication’s website. There were no written instructions for assembling the ladder body - only CAD diagrams, which were pretty straightforward. Originally I thought the rubber tread strips were designed to slide into the T-slot steps. However, after the installation, C4 Fabrication reached out and mentioned that the easiest way to install the rubber tread strips into the T-slot steps is to lay the strips along the groove and just push them down into place. I took the hard route by trying to slide the rubber strips into the T-slot groove - oh well.
On another note, since all fasteners are stainless steel, each bolt needed to be coated with anti-seize. I had purchased a tube of anti-seize prior but didn’t have a good way of applying it to each bolt’s shaft… so I used a paper towel to rub anti-seize evenly into the threads. Photos of the the ladder assembly are below (and a cute dog).
I had a chance to mount the ladder a few days later with the help of my father-in-law. The hardest part was aligning the rack to appear vertical - this took some finagling. The bottom mounting plate does allow some horizontal play by releasing the locking studs. To make the top plate flush against the rear hatch spoiler, I needed to use my full body weight and “jump” up and down on the ladder. After tightening all the bolts, the ladder doesn’t budge and holds my weight well. The wife tried it out and she liked it, too.
The ladder steps do sit close to the hatch. I am debating about buying some 3M clear vinyl to cover the areas directly behind the steps, but haven’t pulled that trigger yet…
The ladder does increase load on the struts, which causes it to naturally open less and requires some assistance within the first 10 to 15ish-degrees of motion. I recently installed some stronger lift gate struts, which have worked well so far. The two photos below show the rear hatch naturally opening with the OEM struts and a little assistance versus manually forced full open. Sorry the first photo is out of focus.
Some people had inquired if there was interaction between the top mounting plate and the rear of the roof, or the top mounting plate’s hook and the lift gate. These are reasonable concerns as any rubbing would damage the vehicle’s paint... which can lead to other problems over time. It appears the ladder is designed well-enough such that the top mounting plate should never hit the rear of the roof, even when the lift gate is fully opened. Furthermore, I think that any rubbing of the top mounting plate’s hook will depend on how forcefully the top plate is pushed back towards the rear of the vehicle during mounting (i.e. jamming in a lot of cardboard). Luckily, I think I have about a 1/16” gap between the hook and the lift gate edge - so hopefully no rubbing or damage in the long run! First image is of the lift gate closed, and shows the gap of the top mounting plate hook to the lift gate. Second image is the lift gate opened to a maximum - the mounting plate does not hit the roof.
The ladder does obstruct the rear-view camera’s view when reversing. The obstruction can vary a little depending on how far left or right the ladder is mounted in relation to the camera.
Overall, I am very pleased with C4 Fabrication as a company, and the quality workmanship that went into their Summit Hatch Ladder. The ladder itself improves upon the appearance of the vehicle with the SSO rack, has wide grippy steps (big safety factor), and will hopefully be very useful in the near future.
Conclusions and Recommendations:
I love that 85% of this ladder is made from aluminum. Furthermore, wide, rubber grippy step treads are wonderful. less chance of slipping!
Rather than trying to slide the rubber treads into the T-slots from an end, place the entire tread along the slot and push firmly push it down into the groove.
Ladder sits pretty close to the hatch - don’t have a comparison of other ladders available on the market, though.
Ladder slightly obstructs rear-view camera, maybe 10-15% of the screen. This obstruction might be lesser on other ladders that use round steel tubes (which are typically thinner).
The OEM lift gate struts can be used with this ladder - but they will require some assistance when the lift gate is first opened and they are incapable of holding the lift gate fully open. I recommend swapping out the struts with stronger lift gate struts, which will open the lift gate smoothly through its entire range of motion. It’s a fairly cheap retrofit that could save headache and irritation in the long run.
Over time the foam at the bottom of the hatch will dry out/degrade. Note I’ve stored my vehicle outside for about 6 months since installing the ladder. I’ve found the best fix is to paste on a few layers of protective vinyl film on the hatch body to prevent contact with the ladder’s “clamp”. This has worked out so far.