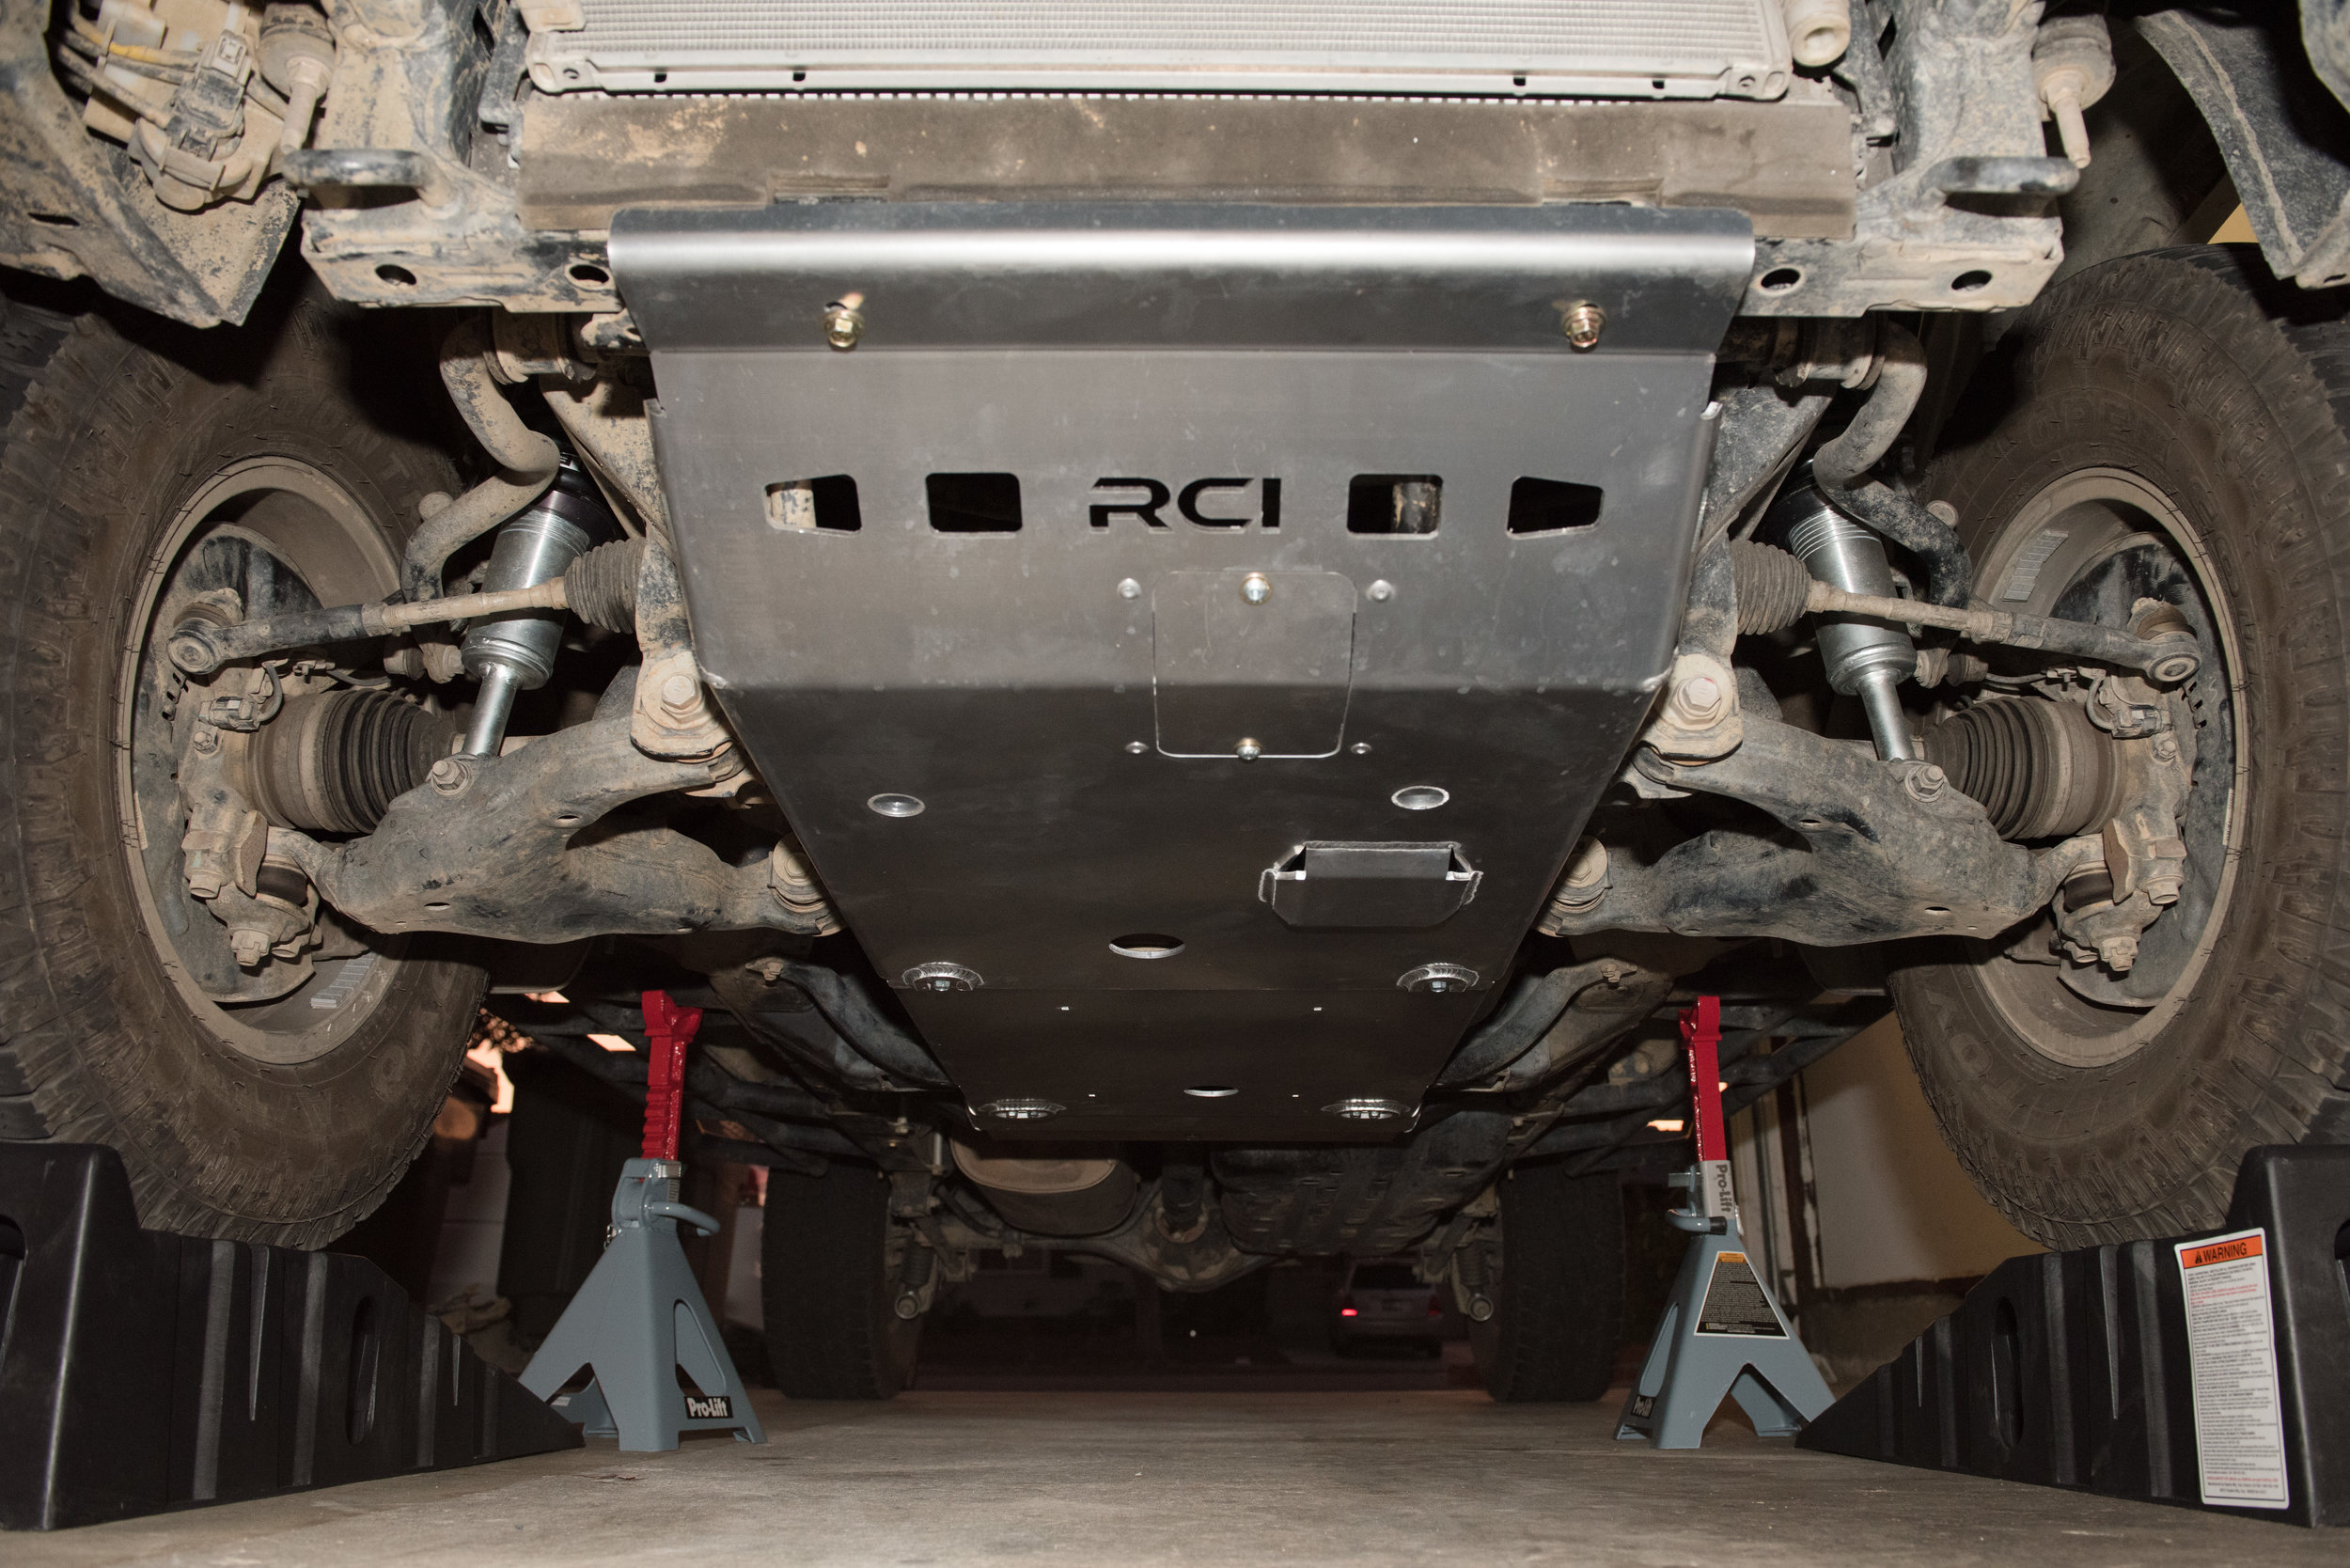
Skid plates are meant to protect low hanging fruit from potential trail damage. After having previously installed the RCI Offroad Aluminum Skid Plate Package with Filler Plate, which has brought me peace of mind a few times already, I decided to pick up a pair of rear shock mount skids from RCI Off Road during a recent holiday sale.
These shock guards seem to have been around for a while, but I couldn’t find any specific reviews on them. A few other companies also make rear shock mount skid plates, but most were unable to verify fitment with my Bilstein 5160 setup. RCI Off Road was the only one that verified fitment…. and, they were pretty cheap after the sale.
The skid plates are ordered in pairs. One has a cutout “P” for Passenger while the other has a “D” for Driver. They are fabricated from 3/16th” steel and powdercoated matte black. Included are also two carriage bolts, two washers, and two hex nuts, which are used to secure the skid plate to the shock mount frame. A square notch is cut into a side of each skit plate to hold the carriage bolt in place, which also helps with installation. Some photos of the skid plates are below.
Tools required for installation include:
Breaker bar
Torque wrench (at least 72 ft-lb)
Socket wrench
17mm six-sided socket
19mm ratcheting wrench
Blue Loctite (optional)
Since RCI does not provide any form of installation instructions, this is what I did:
Install one lower shock guard at a time - I started on the driver’s side.
Chock both rear wheels to prevent movement when working under the vehicle (maybe not necessary, but I did).
Use breaker bar and 17mm socket to break and back out the lower shock bolt. The lower shock bolt only needs to be backed out far enough to slide the shock guard into place. It does not need to be fully removed.
Slide shock guard over shock and frame mount, aligning all holes. Pass through RCI provided bolt through the shock guard and holes in the shock mount frame. Loosely install washer and hex nut, and (optional) apply blue loctite to carriage bolt thread.
Loosely re-install lower shock bolt. Lift shock guard into place with one hand, and use ratcheting wrench with 17mm socket to snug bolt in place.
Tighten lower shock bolt to 72 ft-lb using torque wrench.
Tighten carriage bolt hex nut hand-tight using 19mm ratcheting wrench.
Repeat for Passenger side.
Overall, installation took about 40-60 minutes since I had to figure out how installation. I think they will hold up fine for the usual stress I put on the 4Runner.


