I’ve sworn not to purchase a roof top tent for three reasons: (1) the fact our 4Runner will then not fit in the garage, (2) the high initial cost, and (3) the fact we only go camping a few times a year (<6?). As a result, my wife and I often resort to either setting up a ground tent or sleeping in the 4Runner. She is about 5’5’ and I am about 5’8. With the seat backs down and seat bottoms removed, she can comfortably sleep in the cargo area but my head/feet definitely hang off the edge of the seat back by a few inches.
We have used inflatable foam sleeping pads for comfort and to extend the sleeping surface, which works really well. One of our last long road trips consisted solely of car camping, which was fine… but was cumbersome because we had a few bags (two for clothes, one with camera gear), boxes (one with non-perishable food, one with camp kitchen), an air compressor and tool kit, and gallons of water that needed to be moved to the front seats each time we set up camp. Such a headache, and such an inefficient use of time on the road.
After that fiasco, I longed for a drawer and sleeper setup for the following reasons:
Increased storage area for clothing, food, camp kitchen, and other miscellaneous camp items
Less stress having to move items listed above to the front seats every time we set up camp
Even out the rear cargo and set back sleeping area without the use of a moving blanket (waste of space)
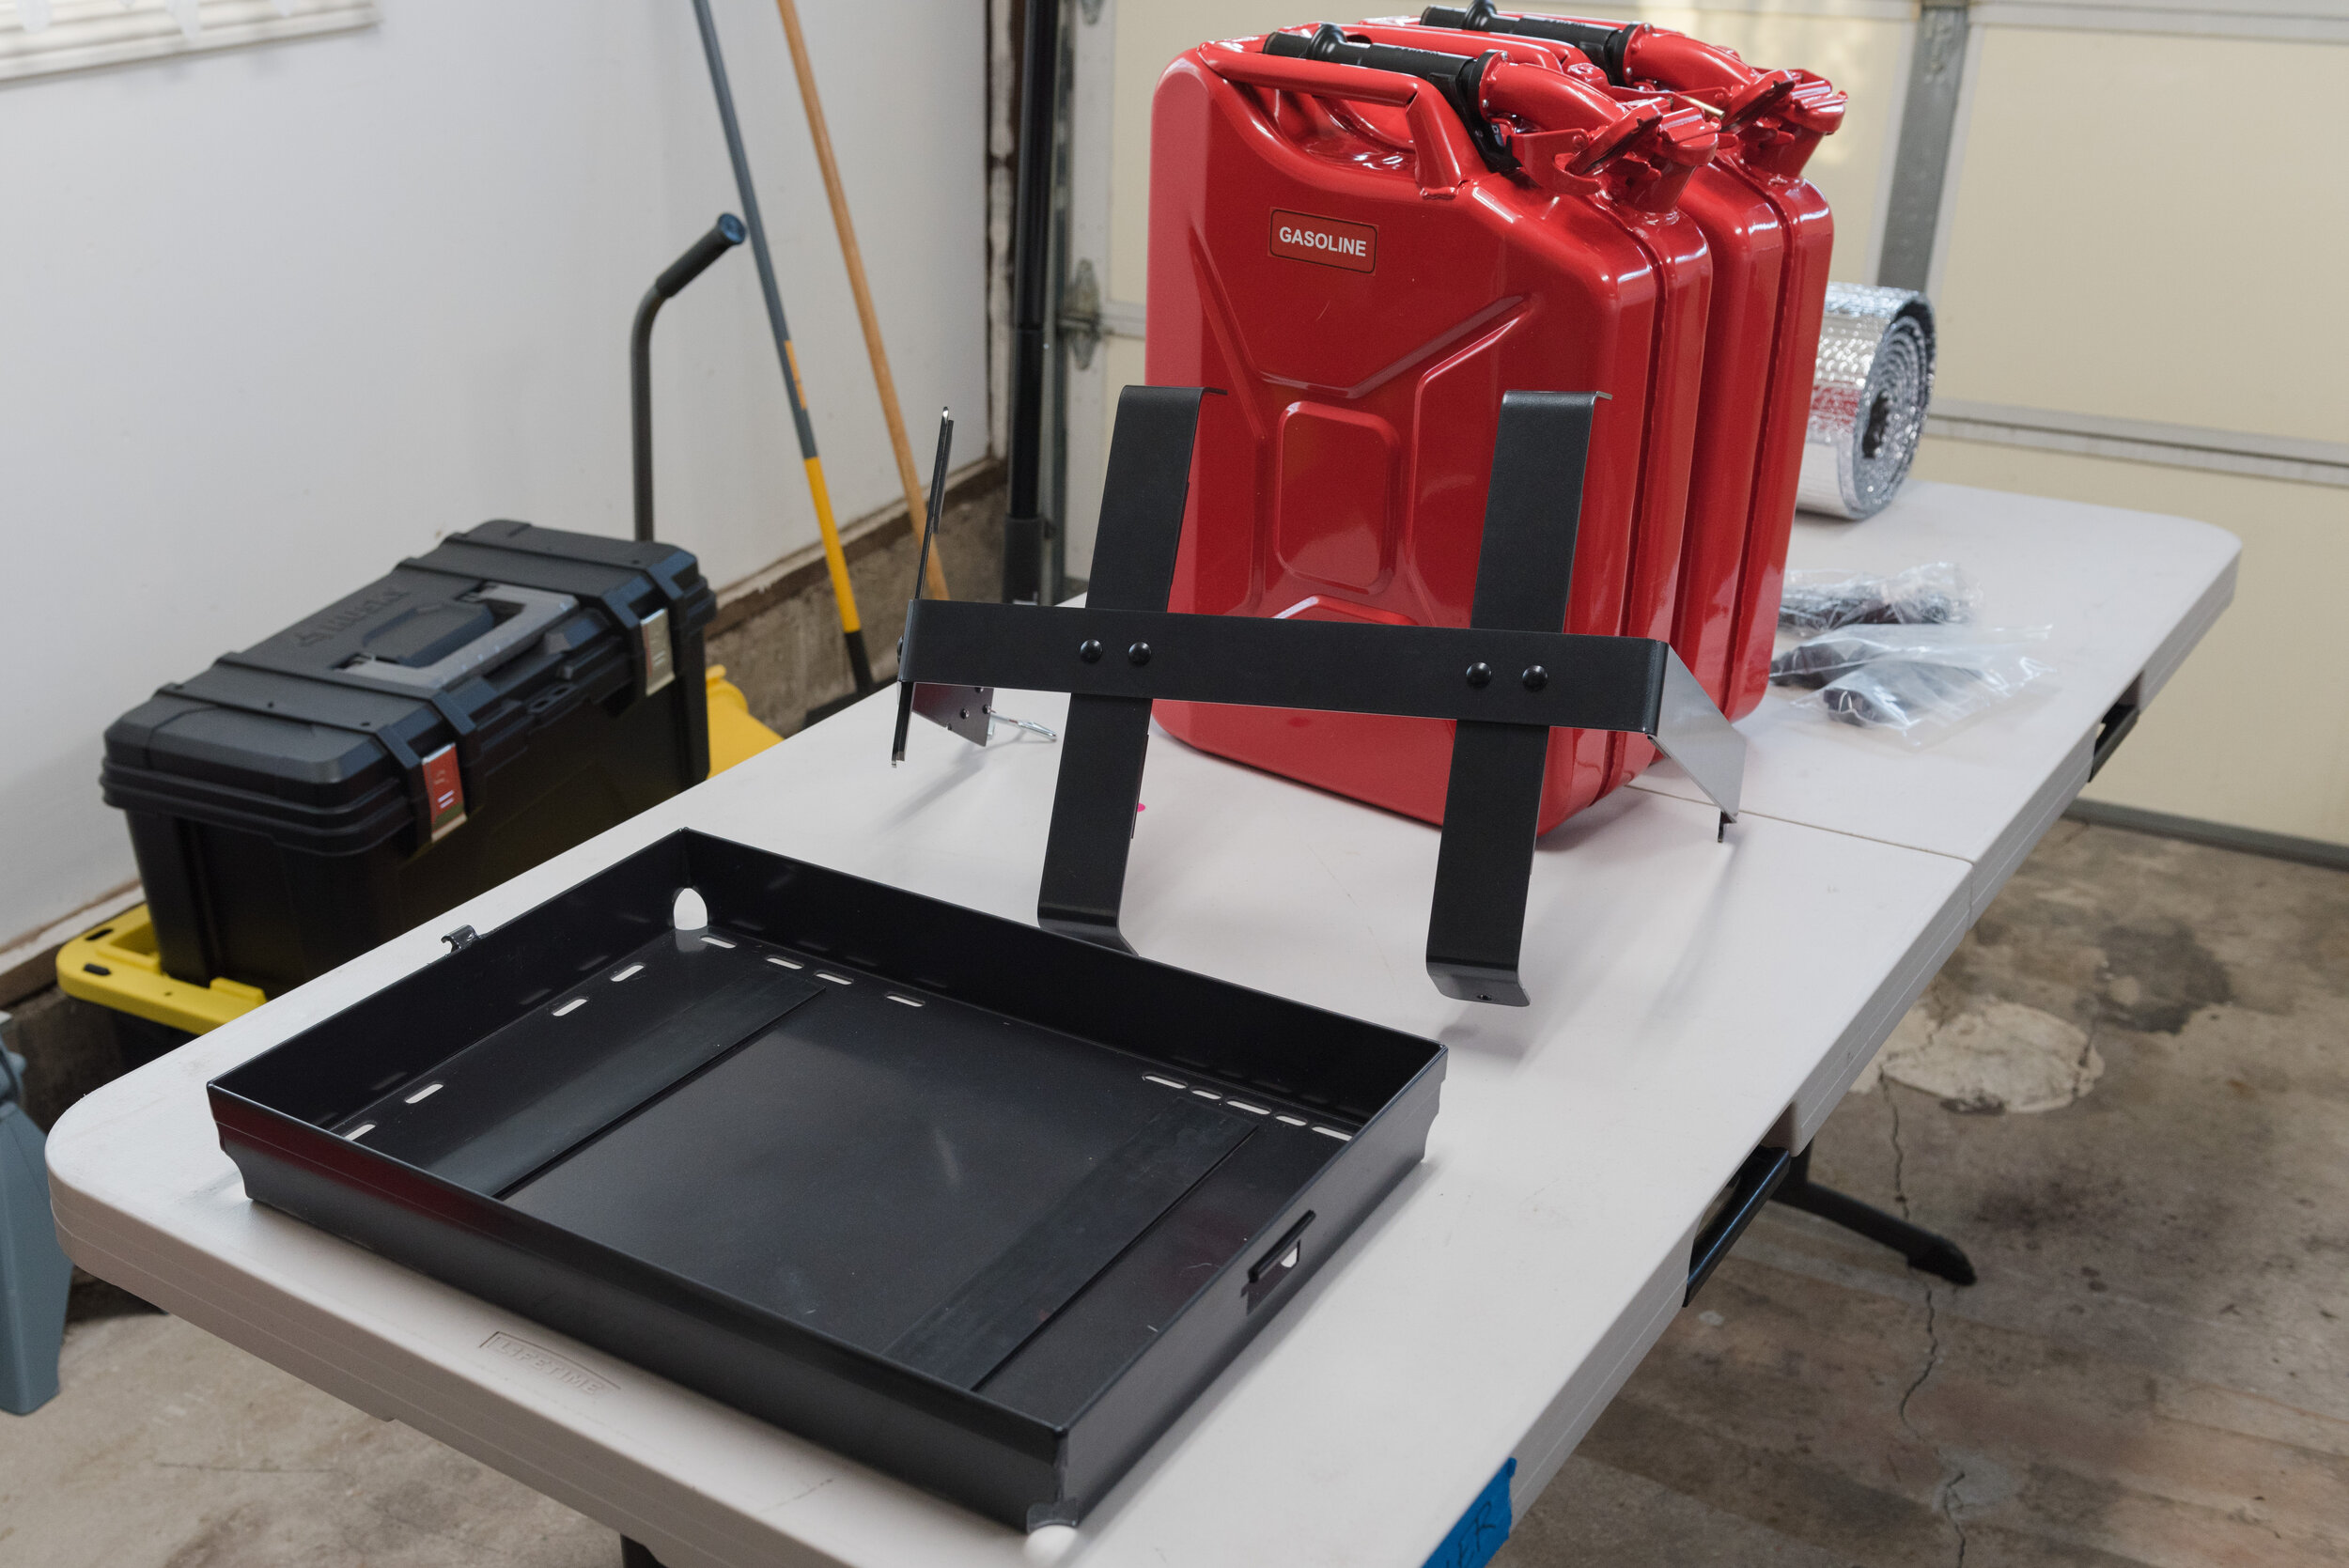
Tie down cooler so it doesn’t sling around when we drive offroad
There are a number of professionally made sleeper and/or drawer systems available on the market for the 5th Gen 4Runner.
However, I quickly found that they were most commercially available systems were either:
extremely expensive (at least for mile wallet) - typically costing more than $2,000 for a complete drawer and sleeper setup; or,
often too tall in height - commonly range from about 8” to 13” tall… though the taller the system, the less headroom there is!
Anyway, long story short I decided to make my own drawer/sleeper system, and make it public because I believe anyone with basic woodworking skills can do it too.
The Build
This section will briefly outline the steps and cut list. Please view the SketchUp (free web version) in the Trimble 3D Warehouse. Regrettably I did not not take any photos during the actual assembly of the drawers, as I was too focused on the finished product. I will try to be as descriptive as possible and hopefully don’t miss anything!
Materials:
Four 4’ x 8’x 3/4” sheets of plywood (at least I think it took about 4 sheets - I used some other scraps so I only used ~3) (~$160)
One pair 32” Full Extension Locking Drawer Slides (~$100)
~1 lb of 2-1/2” wood or decking screws, tapered heads (~$10)
30 #8 3/4” Round head wood screws
6’x'8’ Outdoor Area Rug (~$20)
10 square feet of carpet padding, approximately 3/4” thick.
Tools:
Circular or table saw
Sander w/ 80 grit sand paper (orbital, block, whatever you got!)
Oscillating tool with wood blade… or some good wood chisels
Power drill
1/8” drill bit
3/8” drill bit (optional for counter-sink)
Torx bit (for decking screws)
Phillips bit (for wood screws)
Pneumatic staple gun with 1/4”x5/16” staples
Sharp scissors
At least two sawhorses or a table is preferred
Tape Measure
Torpedo Level
Instructions and Cut Lists
Drawer System (ENclosure)
One 32.75” x 40” Bottom Plate
One 33.5” x 40” Top Plate
Two 4.5” x 32” Side Panels
One 4.5” x 37.25” Rear Panel
Do not fully assemble this piece until completing the drawer. First, attach rear panel to side panels using two screws per side. Then, screw assembled side and rear panels to bottom panel. Drive decking screws through bottom panel into the side and rear panels. I used about 1 screw every ~5-6 inches. Always pre-drill all screws to prevent splitting the plywood; drilling with a counter sink bit is optional, but will make it easier for the decking screw to fully sink in. Set aside.
Drawer System (DRawer)
One 32” x 37.25” Bottom Plate
One 3.5” x 37.25” Rear Panel
Two 3.5” x 31.25” Side Panels
One 5” x 40” Front Panel
Lightly sand the bottom plate’s top face (the face that will face up in the drawer).
Slots will need to be cut into the front panel to accommodate the locking drawer slide levers. The slide levers need about 1” of clearance to unlock the slides. I chose to mount the slides mid-level. I think I cut about a 1.25” x 1” square to accommodate the lever. An oscillating saw works the best to cut these slots. If you use non-locking slides, you won’t need these slots.
Then, build the frame of the drawer. Screw the side panels and rear panels together using two screws per side. Then screw front panel to side panels using two screws per side. Ensure the top of the front panel is level with the top of the rest of the frame. Finally, affix the drawer frame to the bottom plate. Drive deck screws through bottom panel into the frame. I used about 1 screw every ~5-6 inches. Drive at least two screws into the front panel and bottom plate.
Drawer System (Assembly)
Look up a YouTube video on how to install locking drawer slides. Deconstruct each slide into its two components, which will be the inner slide with locking mechanism and the outer u-bracket. The portion of the slide with the locking lever will install onto the drawer while the u-bracket will be mounted on the drawer enclosure. Use wood screws to attach the slide components to the drawer and enclosure. Use a torpedo level and tape measure to ensure the slides are parallel and mounted in line with each other.
Slide the drawer into the drawer enclosure. The slides should click together and slide easily if lined up well.
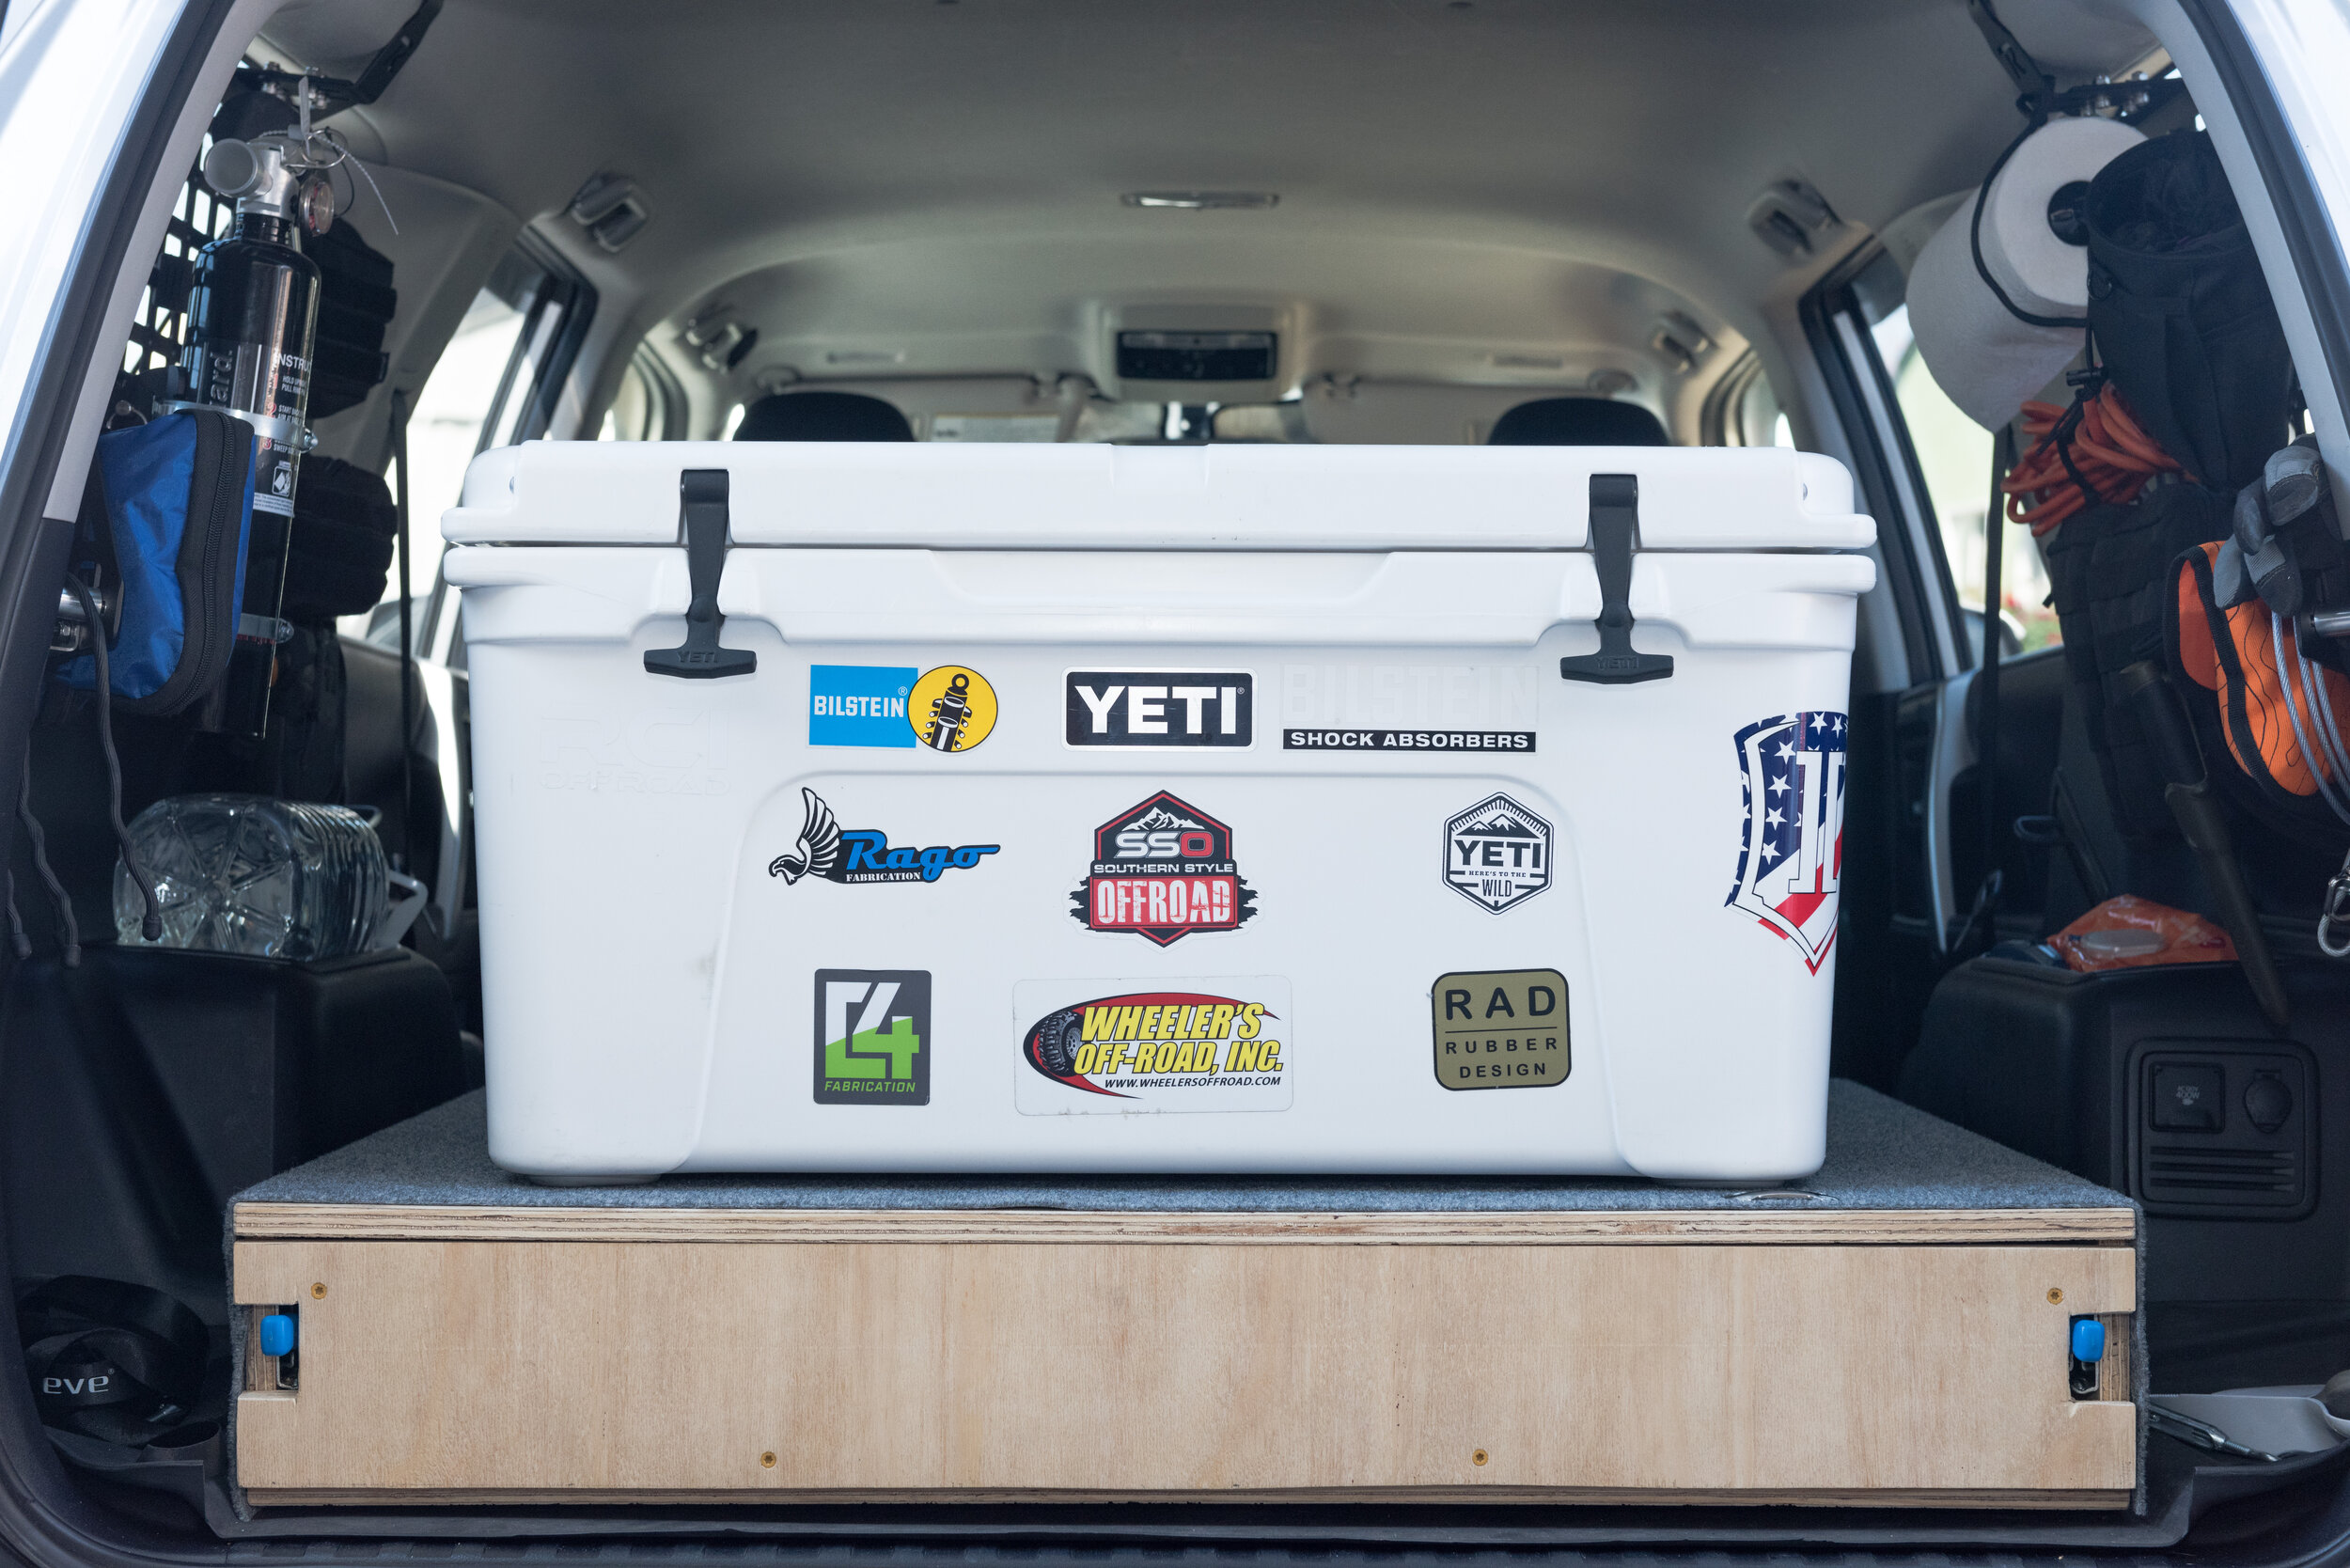
Upholster with outdoor area rug material, staple gun, and scissors. I did not use carpet padding here since I wanted to keep the Yeti cooler mounted on a flat, hard surface.
Test fit the drawer system in the 4Runner trunk. Install eye strap (using wood screws) and turnbuckles at heights you are comfortable with. I opted to attach an extra set of eye straps to the enclosure’s sides as attachment points for tie down straps.
Sleeper/Storage System
Two 3.75” x 24.5” Panels
Two 3.75” x 9” Panels
Two 3.75” x 5.25” Panels
Two 3.75” x 16.5” Panels
Two 3.75” x 27.5” Panels
Two 20” x 6” Rear Panels
Two 3.75” x 16.5” Middle Dividers
Two 18.5” x 9.25 Top Plate (cut all edges about 1/2” less than this, or the value the Sketchup file shows)… so the actual size is ~ 17.5” x 8.25”
Two L-Shaped Top Plates (see Sketchup) (cut all edges about 1/2” less than the Sketchup file shows)
Sixteen 2” x 3” Support Blocks
This system is meant to split in half along the middle for easy storage. Screw together all components of each half-frame first (all panels and the middle dividers). Then, cut out slots for the rear turnbuckles holding down the drawer system using an oscillating saw.
Lay each half-frame on a flat surface, top-side down. Insert the Top Plates into each hole. Then install the support blocks below the top plates (this helps ensure the top plates are flush with the edges of each frame). The screws may slightly poke out of exterior of the frame, but in the end they will be covered by carpet. If you don’t plan on adding carpet to the frame, back out the screws slightly so there’s no poke.
Place a completed half-frame on top of the carpet padding, and trace the frame’s outline using a sharpie. Also trace out the fore and aft edge of the middle divider. Use scissors to cut out the section of carpet padding. Cut carpet padding across middle divider line to form two pieces of carpet padding that fit the half-frame. Then, repeat for second half-frame.
Upholster carpet padding using outdoor area rug to to plates. I used a lot of staples. See photos for more details. The idea is for the carpet padding to form a “lip” over the edge of the plate. This will soften the frame’s corners. The reason all top plate edges were cut 1/2” less than the SketchUp file shows is so the top plates can still recess into the frame with the addition of the outdoor carpet.
You may also want to upholster the frame (did not use carpet padding). I upholstered all top, bottom, and outward facing sides except except the rear (facing drawer system) and division between the two half-frames. For those, I only upholstered the top and bottom facing edges of the frame. Upholstering the top edges helps improve aesthetics, while upholstering the bottom edges helps protect the seat backs from the otherwise bare wood.

In total the drawing above provides a sleeping platform of about 5.5’. The system is designed to rest just behind the “bump” at the top of the seat back. I added two additional 3” wide panels held up by foldable self-locking hinges held by #8 3/4” wood screws for some extra head room. Upholstered and added carpet padding. I decided to use this design rather than make a bunch of custom cuts at the front of the sleeper system to extend the top plate. Also, I didn’t double check the total length of the drawer/sleeper system - but no one needs to know that.
The Sketchup file should be downloadable, and is free for alteration - so you can do what you want! This is how it turned out for me.
Overall this setup is great for just my wife and I. We store all of our camp kitchen stuff, and a few other miscellaneous camp items, in the drawers. The storage cubbies under the sleeping system are perfect for a week-or-so of his and hers clothes (not including heavy jackets) and toiletries. The sleeper top plates are easily removed by grasping the edges of the carpet and pulling upwards. I might add some light velcro to ensure the top plates stay in place on bumpy roads, rather than popping up (not sure if this is a problem yet).
I keep the drawer system in the 4Runner 24/7 and it doesn’t rattle or squeak. The eyebolts keep it tied down nice and tight, and it didn’t budge even after going on a few bumpy trails. I’ve lined the drawer with non-slip toolbox liner from Harbor Freight to prevent items from sliding around and it works great!
The total cost for this project was probably around $300-$400. Hope you find this useful!